Forms in MYOB Premier
MYOB Premier gives you option for pro-forma and custom-made forms for you to choose from. However, if you want to make your own or adopt to your existing company forms, MYOB gives you flexibility in making your forms by allowing you to customise with many powerful customisation tools to make the task easy. The following are summarized below with its corresponding main command centre/feature:
|
Forms |
Main Command Centre/Feature |
| Cheques | Spend Money |
| Receipts | Spend Money |
| Remittance Advices | Pay Bills, Spend Money and Credit Refunds |
| Invoices | Sales |
| Statements | Sales |
| Purchase Orders | Purchases |
| Mailing Labels | Card File |
When you consider it best to customise the above form according to your business needs, you can do so easily. To do this, go to Setup, then click on Customise Forms. The forms that can be customized appears:

To get started to customise a form in MYOB, you have to follow these procedures as follows:
1. Displaying the form
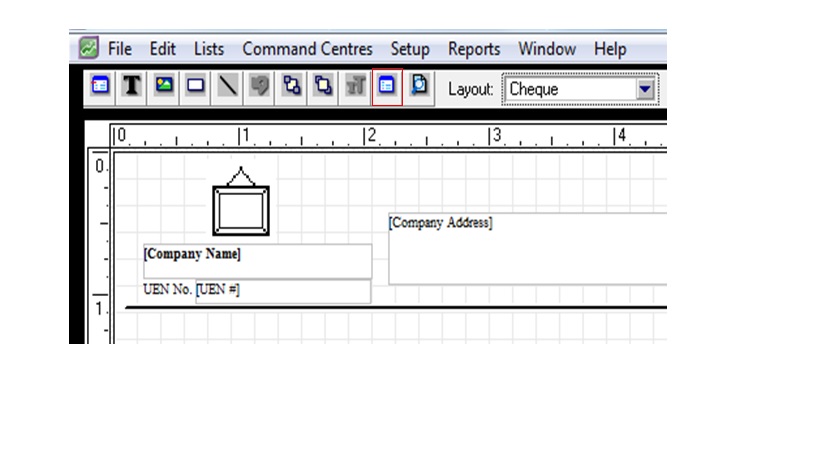
To display the form you want to customise, go to Setup and choose the form you want to customise. For example, the form you want to customise is the Cheque, click on this field. The options for Cheque forms appear:
1.a. Payment Voucher
1.b. Continuous Feed Cheque
1.c. Laser Cheque
Please take note that in MYOB, cheque form consist of two parts – the check and the stub and have the option to customise the check and the stub separately or as separate form. The screenshot for the option appear below:
 2. Setting up the properties of the form
After you display the form on MYOB, click on the Properties button in the tool palette as shown in the screenshot below:
The Properties tool have two tabs: The Layout Tab and the Options Tab
Screenshot of the Layout tab is shown below:

In the Layout tab, you have to indicate the following:
- The number of forms (in this example, the number of cheques) to be printed per page
- The Paper size for the form
- The Margins for the form page
- For the Form Size, fill in the width and length of the form and not the paper size for each page of the cheque.
In the Options tab, you do and indicate the following:

This option allows you to indicate the grid options, if you opt to show the grid, snap a grid as well as the grid size.
This also allow you for Background Options to use image files as background to the form and where the background will be placed on the form.
3. Changing, deleting and adding elements
This option allow you to change and add elements to the forms by using the help tools in the Tool Palette available in your MYOB file as follows:
3.1. Add Data Field
3.2. Add Text
3.3. Add Graphic
3.4. Insert Rectangle
3.5. Draw Line
Screenshot of the Elements option tools shown below

3.6. Send to Back
3.7. Bring to Front
3.8. Font Style
3.9. Form Properties
3.10. Print Preview
Screenshot of the tool options as follows:
